Add a Background Picture
Information given here is based on using Microsoft Word pre-07.
Insert Picture
Open one of the purse-sized booklet documents. If you choose to open Clear Blue Lines [blue-lines-cl] then you will need to remove the background picture that is already there.
Remove Background Picture
To remove a background picture, hover your mouse over it near the top or bottom of the picture. When the mouse pointer changes to a directional pointer, click the image. Hollow dots will appear in places on the picture's corners and edges. Press your delete key, or the backspace button, or right-click and choose cut. With the picture gone, you can add another one.
Insert Picture
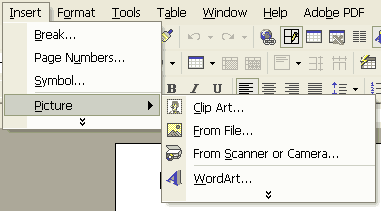
To insert a picture, do this from the menu:
Choose Insert
Choose Picture
Decide where to get the picture and add it.
Place Picture Behind Text
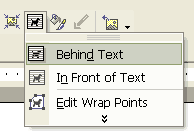
The picture needs to be placed behind the text. First make sure the picture is selected, select it by clicking on it. If you have the Text Wrapping button on your tool bar, you can use that to format the picture to stay behind the text.
If you do not have the wrapping button on your toolbar, access the Format Picture window, see instructions below:
Accessing Format Picture
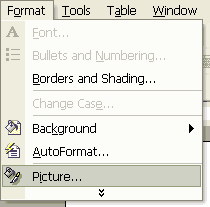
To access the window, first activate the picture by clicking it. Depending on the current format of the picture, either a border or dots will appear at the picture's edges. Either way, just select the picture, then you can access the format picture menu.
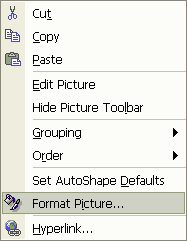
Alternatively, the Format Picture window can also be accessed by right-clicking the picture and selecting Format Picture
Text Wrapping from Format Picture Menu
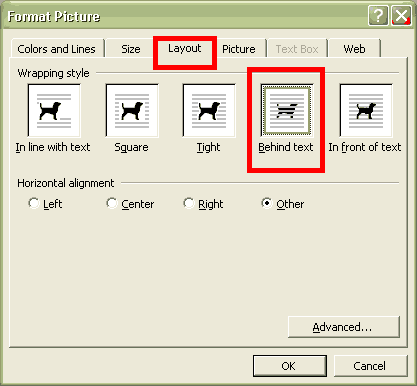
With the Format Picture window open, choose the Layout tab and click the Behind Text button.
Simple enough
Close the window.
Click on the background picture and move it where you want it. ***Do not put the whole picture behind the table because once the picture is unactive, it will be hard to access it again if it is completely behind the table.
Make the picture bigger or smaller by clicking and dragging on one of the dots. The corner dots keeps the picture in porportion while the side and top and bottom dots stretch the picture.
Fading or Washing-out the Picture
The picture can be washed-out via the toolbar if the button is on your toolbar.
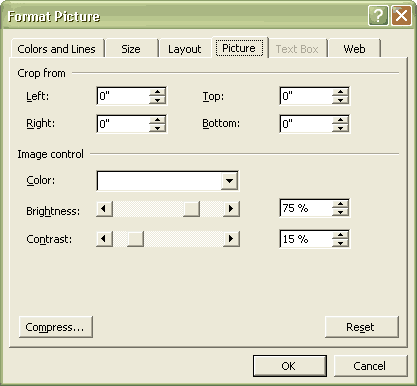
If the button is not on your toolbar, access the brightness and contrast controls through the Format Picture window. Instructions for accessing the format picture window is above.
Choose the Picture tab.
In Image Control, slide the bars for more brightness and less contrast. Or, from the drop-down, choose washout. Washout is too faded for some pictures and is best used on bright pictures.
Choose OK to close the window.

 My Grade Calculators
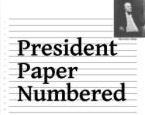 We, I, have made "ruled president paper."
